A home theater system should do more than make a movie loud. In a well-designed house, it should make the room feel intentional: lights fade without hunting for a switch, shades close when the sun hits the screen, and the right source appears with one simple command. That experience starts long before equipment arrives. It starts during planning, when walls are open and decisions about wiring, acoustics, HVAC, and control can still be made properly.
I have seen homeowners spend heavily on a large display and powerful speakers, then lose much of the experience to glare, fan noise, uncomfortable seating, or a remote-control collection. The better approach is to treat the room as a complete environment rather than a pile of components.
Designing a home theater system around the room
The room determines more than the equipment does. Before choosing a display or projector, look at its shape, ceiling height, windows, doors, and connection to adjacent spaces. A rectangular room is usually easier to tune than a square one because parallel surfaces create fewer problematic reflections. That does not make a square room impossible, but it does require more attention to speaker placement and acoustic treatment.
Screen position comes next. A display should not face a large window unless shades or blackout treatments are part of the design. Even a very bright television looks washed out when afternoon light lands across the panel. With a projector, light control becomes even more important. Plan for a clear wall, a suitable viewing distance, and enough ceiling access for power and signal cabling.
Seating also affects the layout. The front row should not be pressed against the screen, and the main listening position should not sit directly against a rear wall. In a renovation, a few inches of framing adjustment can improve the final result more than upgrading to a more expensive speaker.

Choose what the home theater system should control
The strongest rooms coordinate several systems without making the homeowner think about those systems individually. A movie scene can trigger a lighting preset, lower motorized shades, set the thermostat to a comfortable level, and select the correct audio source. The command can come from a wall keypad, handheld remote, mobile app, or voice interface, but the result should be consistent.
That does not mean every function belongs on one crowded screen. I prefer scenes that reflect how people actually use the room. “Watch” might close the shades, dim front lighting, leave a low path light on, and wake the display. “Pause” can raise the lights slightly without turning on the overhead fixtures. “Done” can restore normal lighting and climate settings when the last person leaves.
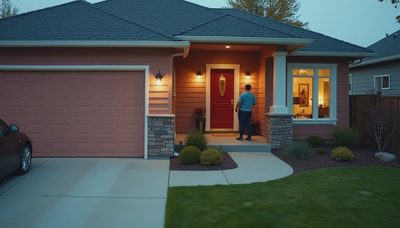
The home theater system becomes more valuable when it connects to the rest of the house. A doorbell notification can appear on the display without interrupting a film, while a security event can raise the lights and pause playback. These details are useful because they reduce friction rather than adding novelty.
Avoid designing around features nobody will remember. If a control sequence needs a printed card after the installer leaves, it needs simplification. The best interface is often a small number of clearly labeled buttons and scenes that behave the same way every time.
Wire the home theater system before the walls close
Wiring is the least glamorous part of the project and one of the most important. Wireless connections are convenient, but a renovation is the opportunity to create a stable backbone. Run properly rated cabling from the equipment location to the display, projector, speakers, network points, and control devices. Leave service loops so future technicians can reach connections without opening finished surfaces.
An equipment rack needs ventilation, power, and a sensible location. Do not bury it in a sealed cabinet beside a furnace or in a cramped closet with no path for warm air. Heat shortens equipment life, and an overheated rack can create intermittent problems that are difficult to diagnose. A dedicated outlet circuit is not always necessary, but clean access to power and surge protection is.
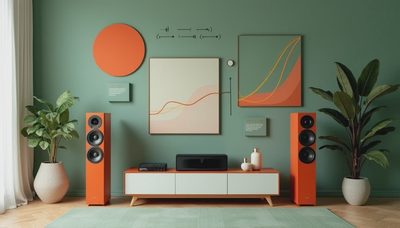
For speakers, prewire every intended position even if the first phase uses a simpler setup. Ceiling speakers for surround channels, in-wall speakers for a clean front stage, and a subwoofer connection can all be considered before drywall. Conduit to the display or projector location is valuable because standards change faster than framing does.
Label both ends of every cable. A neat bundle with accurate labels saves hours during commissioning and makes later upgrades far less destructive. I would rather see modest equipment on excellent infrastructure than premium equipment trapped behind inaccessible walls.
Make the home theater system comfortable, not merely impressive
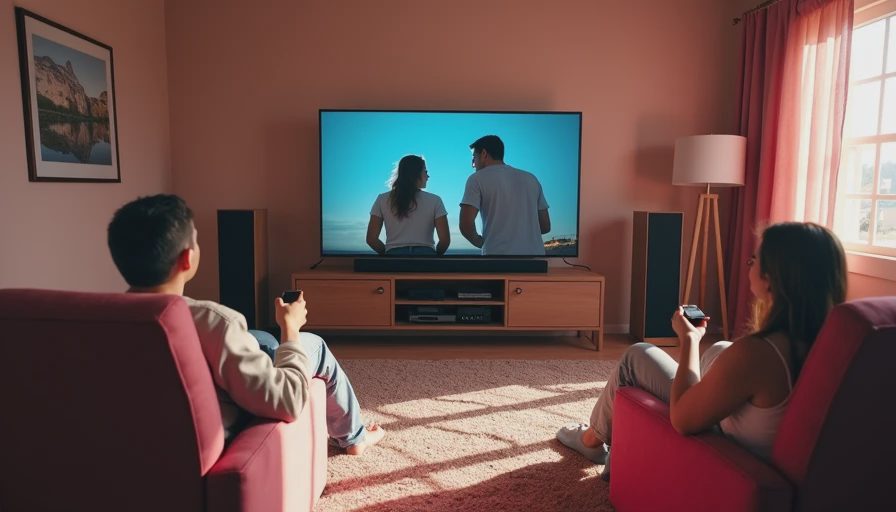
Acoustics and climate are where many rooms fail after the initial excitement fades. Hard floors, bare drywall, glass, and large cabinets can produce a bright, echoing sound. You do not need to cover every surface with foam. A rug, upholstered seating, curtains, and carefully placed acoustic panels can control reflections while keeping the room residential.
Low-frequency sound travels through framing, so subwoofer placement deserves early attention. If the room sits over a bedroom or beside a neighbor’s living space, isolation methods such as resilient channels, additional drywall layers, sealed penetrations, and solid-core doors can make a meaningful difference. These measures are most effective when planned with the structure, not added as emergency fixes.
Comfort matters just as much. A projector, amplifier, or media server can add heat, while a quiet film exposes HVAC noise. Coordinate supply and return registers so air moves without a constant rush near the listening position. Use a dedicated climate scene if the room has unusual occupancy patterns, but avoid making the temperature swing dramatically every time playback starts.
Lighting should support faces, movement, and safety. A fully dark room is not always practical, especially when children or guests are present. Low-level aisle lighting and soft side illumination let people move without washing out the screen.
What changes in a home theater system after year three
The first year is usually about discovery. People experiment with streaming services, gaming consoles, physical media, and different lighting scenes. By year three, usage becomes clearer. Some inputs are never touched, while one or two scenes become daily habits. Good design allows the room to simplify naturally instead of becoming cluttered with obsolete shortcuts.
This is why I avoid building the interface around a specific app or a long list of device names. A homeowner should be able to select “Movie” without knowing which receiver input, streaming box, or control command is working behind it. Equipment can change while the experience remains familiar.
Plan access for maintenance as well. Filters need replacement, projectors need service, and software platforms receive updates. Put critical hardware somewhere a technician can reach without moving furniture or dismantling cabinetry. A home theater system that cannot be serviced efficiently becomes expensive frustration, regardless of its original performance.
Plan the home theater system in the right sequence
Start with the room and the viewing experience, not a shopping list. Confirm the screen location, seating geometry, window treatment, lighting zones, and acoustic strategy. Then document the signal paths, network requirements, speaker positions, power, ventilation, and control locations. Only after that should you select the equipment that fits the design.
During construction, photograph every wall before insulation and drywall. Save the photographs with cable labels and a simple diagram showing pathways, rack locations, and future conduit. This record is useful when a cabinet is installed years later or when a new display requires a different connection.
At commissioning, test the room as a homeowner would use it. Start from a cold boot, switch between sources, pause playback, answer a doorbell notification, adjust the lights, and shut everything down. Test the system from each seat and at different times of day. A room that performs beautifully at noon can behave very differently after sunset if lighting scenes were not calibrated.
A thoughtfully designed home theater system should disappear into the architecture and remain easy to operate. The goal is not maximum equipment. It is a reliable room that feels calm before the film starts, immersive during it, and simple to reset when the evening is over.