If you are replacing a thermostat during a remodel or a simple equipment swap, how to install a thermostat is less about the plastic on the wall and more about the system behind it. The wrong match between thermostat, wiring, and equipment can leave you with short cycling, dead batteries, a heat pump that never quite behaves, or a furnace that runs when it should not. In a house with a lot of moving parts, the thermostat is not a gadget. It is the control point for the whole climate system, so the job starts with identification, not tools.
Start with the system behind the thermostat
Before you learn how to install a thermostat, identify what is actually on the other end of the wires. Most homes with central air use low-voltage control, usually 24 volts, and that is a very different animal from electric baseboard heat that runs on line voltage. A heat pump adds another layer because the thermostat has to manage the reversing valve and, in some homes, auxiliary heat. If you skip that step and buy the wrong unit, you can spend an hour on the wall and still end up with a system that cannot call for heat correctly.
Look at the old thermostat wiring and the equipment itself. A simple forced-air furnace and straight air conditioner are usually straightforward. A dual-fuel setup, a boiler with a zone valve, or a home with a relay board deserves more attention. The front-end decision is boring, but it is the difference between a clean swap and a callback.
Kill power and map the old wiring
Turn off power at the breaker before touching anything, and do not assume the thermostat is dead just because the screen is blank. On many systems, the transformer lives in the furnace or air handler, so shut off the equipment feeding the thermostat circuit and confirm the wires are not live. Then take a clear photo of the existing terminals before you remove them. That photo is worth more than memory, especially when wire colors do not match the usual convention.
Label each conductor by terminal, not by color. Red usually lands on R, white on heat, yellow on cooling, green on fan, and blue or black is often the common wire, but assumptions cause mistakes. Heat pumps add O or B for the reversing valve and may use AUX or E for auxiliary heat. If the old thermostat had jumper wires between R and Rc or R and Rh, note that before you pull anything loose. That detail matters later.
Remove the old base and check the wall
Once the wires are mapped, remove the old wall plate and look at the wall opening. If the hole is oversized, the new thermostat base may need a clean backer or a repair patch so the finished install does not look crooked. If there is a metal electrical box behind the opening, stop and verify that you are actually dealing with low-voltage control. A low-voltage thermostat should not be treated like a line-voltage switch.
This is also the point where old drywall anchors, paint buildup, and bent conductors show up. Straighten the wires, leave enough slack to work, and make sure the cable jacket reaches the wall opening cleanly. A neat opening is not cosmetic trivia. It keeps strain off the terminals and makes the finished install easier to service later.
Mount the new base and land the conductors
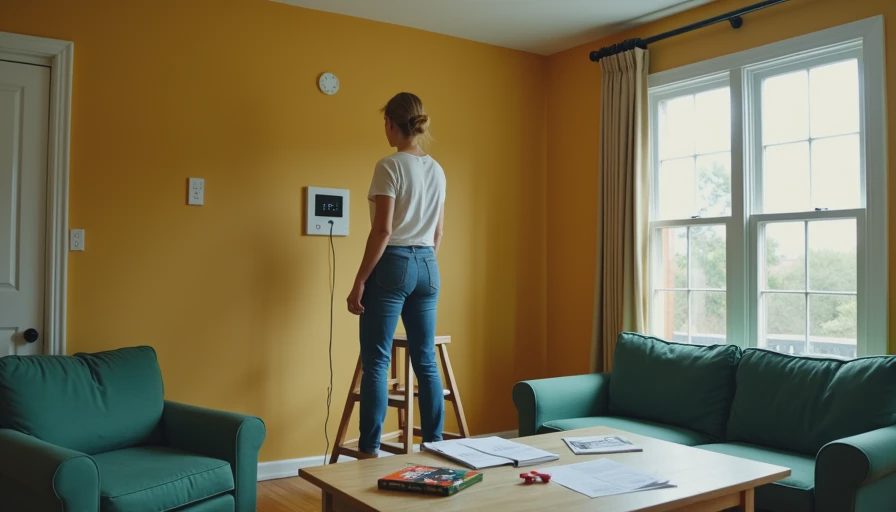
Once you know how to install a thermostat on a standard 24-volt system, this is the part that looks simple and still causes the most trouble. Mount the base level, but do not overthink perfection; a thermostat that is a hair off level will not break the system. What matters is that the base sits flat, the wires are not pinched, and the terminals are easy to access. Strip only the amount of copper the terminal needs, usually about a quarter inch, and avoid nicking the conductor. A damaged wire can work for months and then fail when the season changes.
Land each wire in the correct terminal and tighten it firmly. Give each wire a light tug to confirm it is secure. If the thermostat needs a common wire and the old cable does not have one, stop and solve that problem before you keep going. Some smart thermostats can use an adapter or an add-a-wire setup, but that is not something to guess at. On a renovation, the cheapest-looking fix is often the one that gets revisited in year three.
Test heat, cool, fan, and emergency modes
After the cover is on and power is restored, test one mode at a time. Start with fan, then cooling, then heat. Do not jump through the settings too fast. Air conditioners and compressors need a few minutes between calls to protect the equipment, and some thermostats include a built-in delay that is easy to mistake for a wiring problem. If you have a heat pump, make sure auxiliary heat and emergency heat are both understood by the thermostat and by the person who will use it.
Watch the system, not just the display. The fan should start when asked, the outdoor unit should engage in cooling mode, and warm supply air should show up in heating mode after a short delay. If the system behaves backward, the issue is usually in the wiring configuration or the equipment type selection, not the wall plate. That is why the setup menu matters as much as the screwdriver.

When a simple swap is the wrong move
The hard part of how to install a thermostat is not hanging the base; it is knowing when the wiring or equipment makes DIY the wrong move. Line-voltage electric heat, multi-stage heat pumps, zone systems with relays, and older boiler controls can all look deceptively simple at the wall. So can systems with no common wire, damaged cables, or mystery splices hidden in the attic or furnace cabinet. If the old thermostat has only two wires, or if the equipment is a mix of furnace, condenser, and auxiliary heat you do not fully understand, that is a good place to pause.
I have seen plenty of homeowners get the visible part right and still end up with a thermostat that underperforms because the system underneath was never matched correctly. If you are in a renovation, this is the moment to think ahead. A clean thermostat install should be part of a wider climate plan, not a one-off replacement. If the wiring is clean, the equipment is standard, and the terminals match the manual, the job is manageable. If not, bring in someone who can read the whole system, not just the labels on the wall.